Showing posts with label gifts. Show all posts

Tuesday, May 3, 2011

Dusting off the old sew machine!

Suddenly my craft desk feels very small!

Until last night, my poor sew machine had been banished to the shelf ever since I got my Cricut last September. I had to dust it off because this weekend is my Niece's baby shower (that's right folks, I'm going to be a 24 year old GREAT aunt! So weird, but I'm excited!). There is a wicker bassinet that has been in my family for 43 years, and almost every sibling, niece and nephew and a few friends and cousins has spent the first month or so of their life in it, and every baby gets new bassinet decor.
This baby's (still nameless, but a little boy!) nursery theme is jungle, so my Mom and I decided to go with that. After hunting through the fabric stores and coming home empty handed three times, we finally decided on a jungle baby print with green flannel lining and a jungly quilt. Yes I made up the word jungly. Deal with it.

So, I made the skirt that covers the legs last night.I can't wait to show you the completed bassinet. Heck, I can't wait to see it myself! It's going to be pretty stinking cute.


And tonight, I'm making (my first ever!) cheater quilt. I bought the top fully assembled at JoAnn's for 50% off, thanks to the nicest counter cutter I've ever encountered there (say that three times fast!) and I'm both nervous and excited to get started.I'm going to add satin tags along the edges of the quilt because I know how much little boys love silky things :)

Wish me luck!

Sunday, December 19, 2010

Christmas Boxes

With only a few days left until Christmas, I think it's safe to say I've given up on making my Christmas cards this year. I just don't have the time.
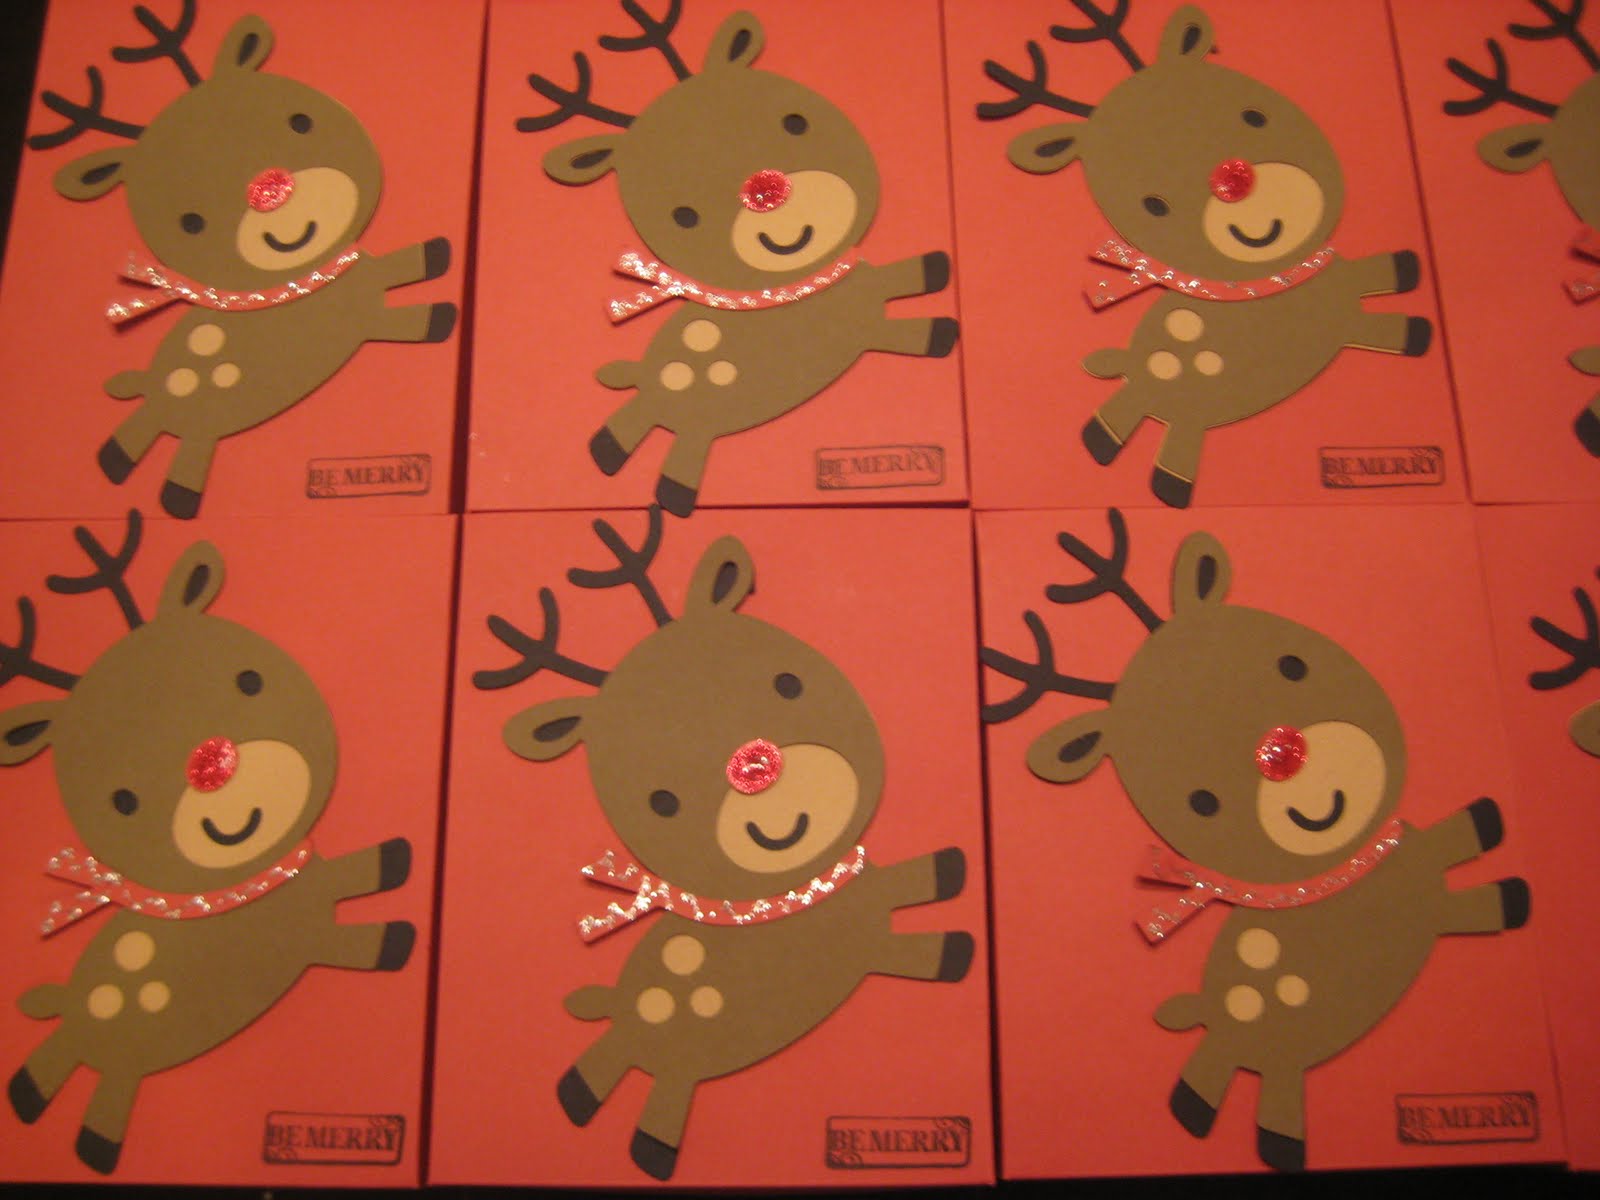
BUT I did make these adorable boxes to fill with homemade candy for my coworkers! I used this box tutorial, and cut the reindeer from Create a Critter. I used the fill page feature to cut as many from a page as I could at 5 inches, and I had 10 boxes done in no time (less than an hour). I used my paper cutter to score the boxes, which worked okay, but I bought a Martha Stewart Scoreboard a few days later. If I ever make these boxes again, the scoreboard will make it a much faster process!


I made them while the peanut butter button cookies were baking and cooling and it worked out really well. I forgot to take a picture after I added the gift tags, but I cut small tags with the Plantin Schoolbook cartridge and tucked them near the Reindeer's head with a sentiment and the recipients name. They really turned out cute.I added peppermint bark to these after the picture too! I almost forgot to put it in there.

So, if I don't post again before Saturday, have a Merry Christmas!

Tuesday, July 13, 2010

More baby hats!

I'm surrounded by babies and preggos right now, so I've been making a ton of baby hats. (this will be my last baby post for awhile though, even I'm getting sick of them!)
I love those baby hats that end in a long tail with a knot in the end, so I drafted a pattern (this means I drew a big triangle on paper), and made these two little cuties for my friend Becca. I'm really happy with how they turned out and I'll definitely be making more for the millions of babies that are coming in the next few months :)
Also, this is how I wrapped them:

sometimes wrapping the gift is just as fun as making it!

Monday, June 28, 2010

Nursery decor

another baby gift! I'm surrounded by babies right now, and I'm absolutely not complaining. Last Wednesday my beautiful nephew Nathan was born, and of course, I am in love once again. I adore my nieces and nephews.
Anyways, I made this N for his room (if you follow me on Twitter, you've seen it!) using scrapbook paper, mod podge and a wooden letter from JoAnn's Fabrics. I hadn't seen his room yet, I just asked my SIL what colors it was, and luckily my little N matches perfectly. It's the same shades and everything, I was thrilled.
So, here it is:


Love.

I also whipped up this card from stickers and die cuts that I had on hand. I love babies :)

Also, this is my 100th post! Thank you so much for reading my blog, you'll never know how much I appreciate having people (however imaginary you may be) to share my creativity with!
Image and video hosting by TinyPic

Monday, June 14, 2010

Camo Name

My 12 year niece (I bet you can't guess her name!) is re-decorating her room, and chose camouflage for a theme. I decided to make her name in camo for her to hang on her wall or doors.

I got the letters at JoAnn's (I also bought most of them at Michael's-but they were out of R's. For TWO weeks! Stocking Fail. I'll be taking the ones that I bought back)

I traced out the shape of the letters on camo wrapping paper that I already had, then modpodged the paper on.

I tied on a girly sheer into a bow and hot glued it on to use as a hanger and that was it! Besides for the weeks of hunting for letters, the whole project only took me about an hour, and I'm happy with how it turned out.

Thursday, March 25, 2010

Fun birthday Craft


Many of my nieces and nephew are at the age where gift buying is HARD, but who doesn't like getting money? My Nephew turned 12 this year, and I decided that I was going to make his gift of Money a little more fun.

I took 25 crisp one dollar bills (straight from the bank) and taped them end to end with cheap tape (cheap so it peeled off easier). Every 5 bills I taped in a note like "Will it never end!?!?!?!". Then I rolled the whole shebang up and put it in a wrapped box with a slit in the top (I used a sudafed box, and I wrapped it first leaving on side open to insert the money into)

My nephew thought this was hilarious! We were cracking up the whole time. It really turned a dull gift into something exciting :)

Sunday, March 21, 2010

Crochet baby hat....with ears!

I've seen these adorable knitted/crocheted hats all over the interwebs, but since I have no patience to follow a crochet pattern (anyone else get lost in ch.1 dhc. dc. sl. in 1. turn and repeat from *. What??) I had to wing it. I like winging it. And the great thing about really fuzzy yarn like this is that you can't see if I made any mistakes. As a semi new crocheter, I love that!
But, I'll put my pattern here just for you, in case you are fluent in crochet. Actually, in case you are fluent in my short hand, because that's what my pattern is in.

Tiny (newborn size) baby hat with ears
ears
ch. 5, dbl ch in 3rd ch from loop, dbl ch in each ch. Tie off and leave about 5 inches of yarn. Make two.

hat
ch. 5, join with sl st.

row 1
dbl ch. in each st, join with sl st. turn.

row 2
2 single stitch, dbl ch in each st, join with sl st. Turn

row 3
2 single stitch, dbl ch in first ch, 2 dbl chain in next. repeat this pattern around and join with sl st

rows 4-8 (or however big you want the hat. mine has no brim, but you could easily add more rows to create a brim)
ch 2, dbl chain in each stitch, working in 2 double chains at every 10th st. join rows with sl. stitch

Once you've finished the hat, you sew the ears on using the extra 5 inches of yarn that you left at the begging.

Hope my short hand works for you! I love how this little bugger turned out, and it only took me a few minutes to make. I see many more of these in my future!